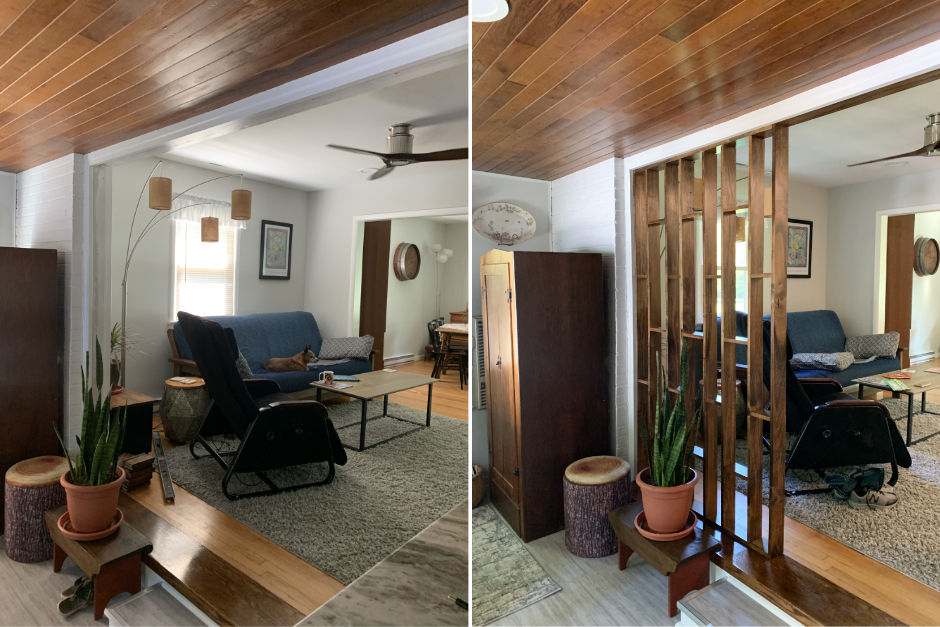
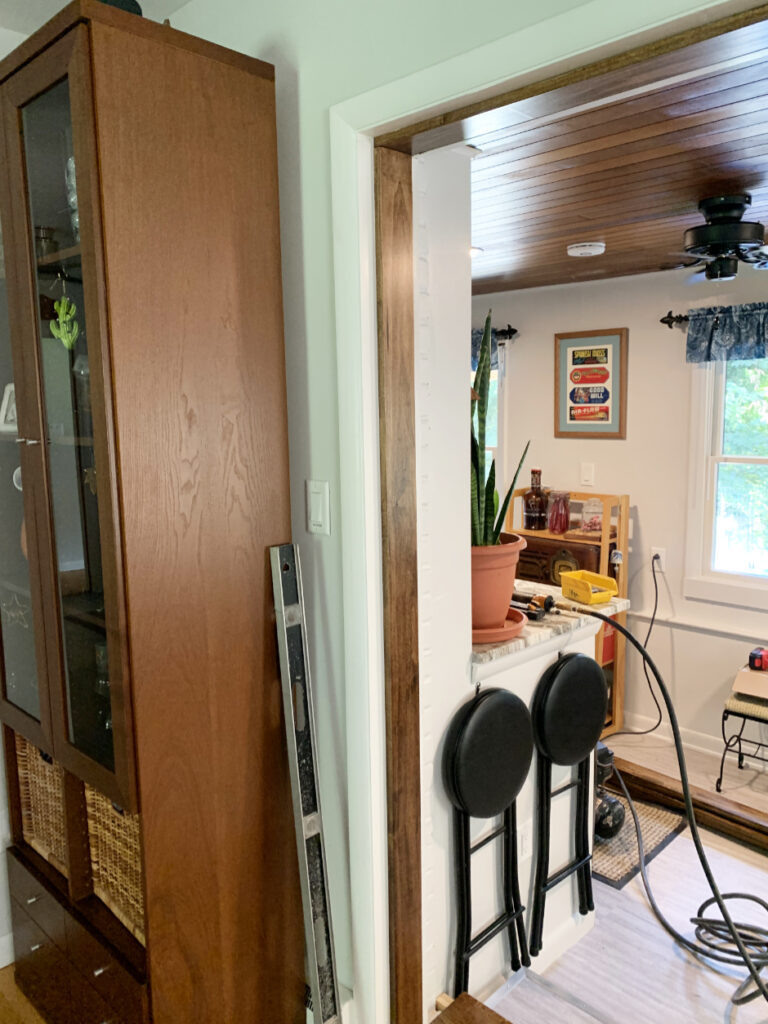
A couple of years ago, my parents moved from Florida to Maryland to be closer to family. They bought a cute 3-bedroom ranch that backs up to a creek. When the house was initially built, it had a porch on the back, and at some point, it was enclosed. A large opening from the sitting room into the mudroom where the sliding door used to be was big and, well, uninspired.
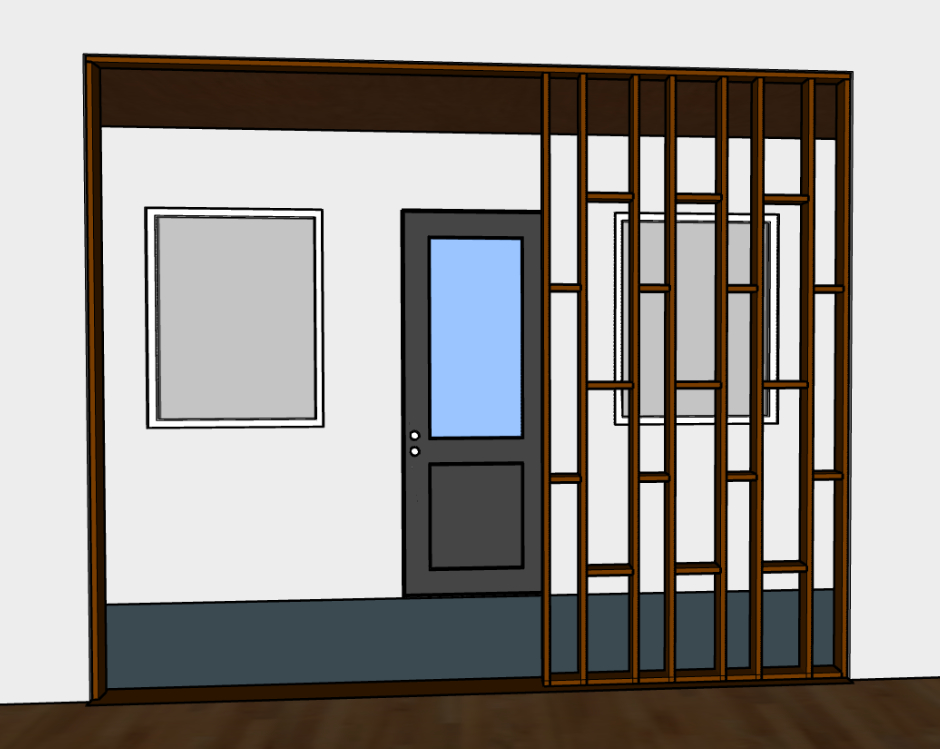
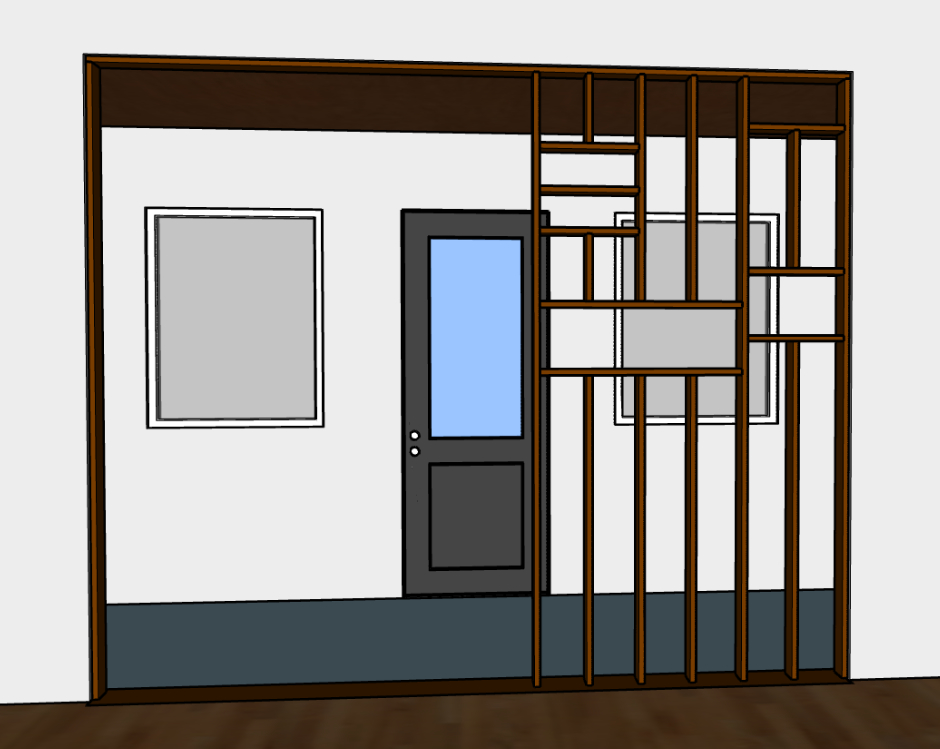
Mom decided she wanted a room divider. Something that would add personality and still allow light in. After consulting with my design team – i.e., Pinterest – I worked up two options in Sketchup. (FYI – do not give too many choices and try to make sure you like all the choices you offer.)
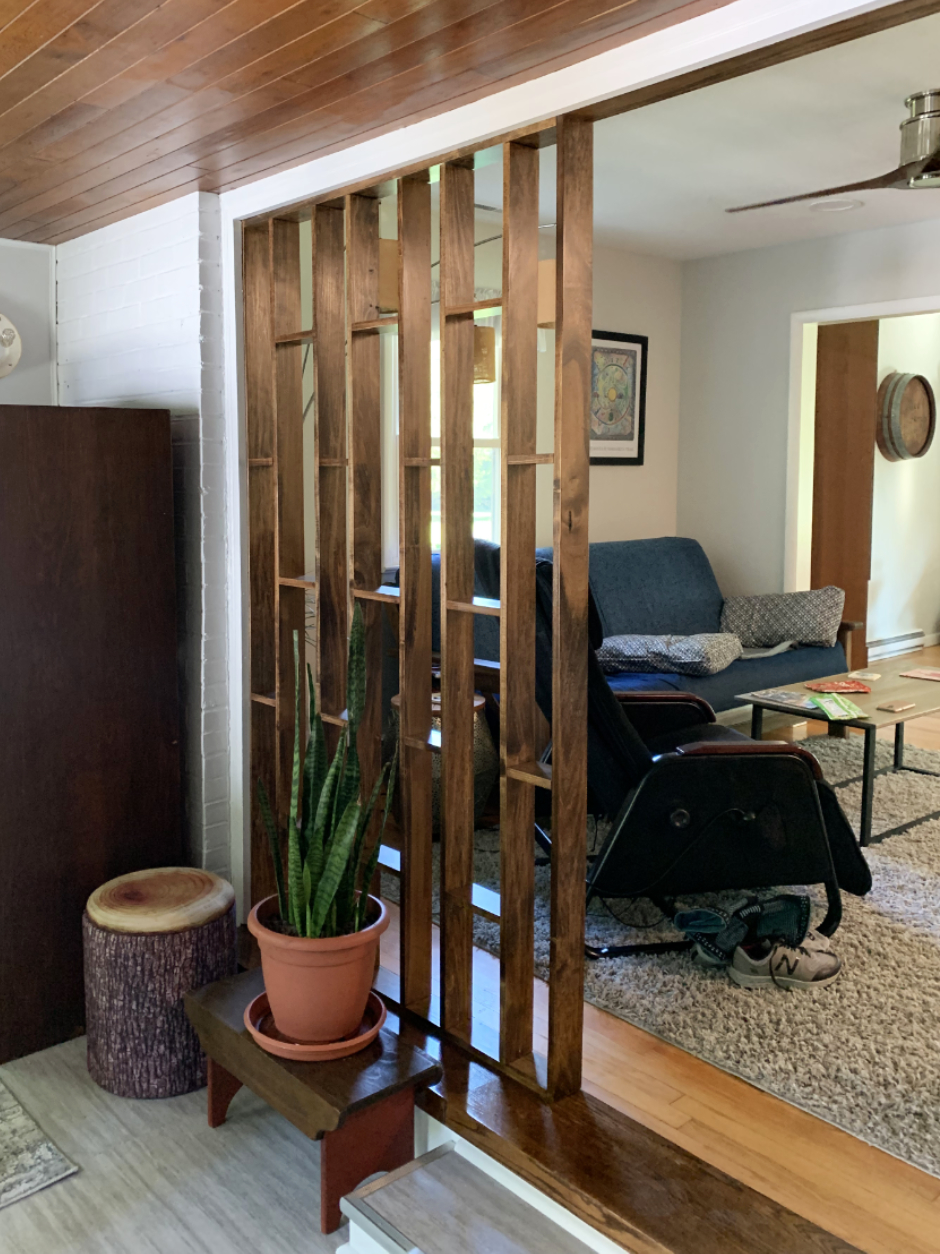
The winning design was Option 1. I think she liked the simplicity of the design. Vertical 1x4s spaced with 4-in and 6-in horizontal pieces in an offset pattern. The horizontal pieces were big enough to use as little shelves for tchotchkes.
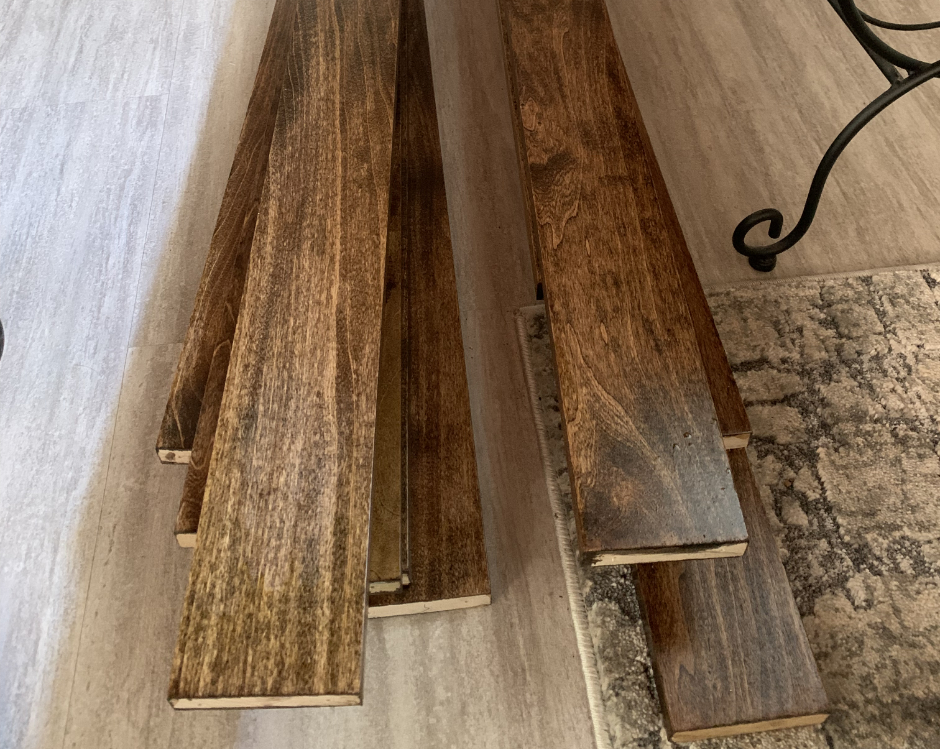
There was a bit of back and forth on what color to stain the wood. The initial idea was to make it the same color as the floor. The problem is the floor is white oak, and the boards are clear pine. Trying to match colors between different wood species can be done, but it’s not always the easiest. In these cases, my theory is to make it different enough that people will know it was meant to be that way and not just an oops. Ultimately, we settled on dark walnut stain, which happens to be one of my favorites.
After I cut all the pieces to length, Mom stained the boards with the dark walnut stain and then polyurethaned them with a semi-gloss finish. I was thrilled to turn this part of the project over. I love the designing and building portion of a project but sometimes need to reach deep for the patience to stain and poly.
After the boards were dry, the first part of the build was to line the sides and top with 1x4s. Mom and Dad had previously added a threshold across the opening and built a step into the mudroom.
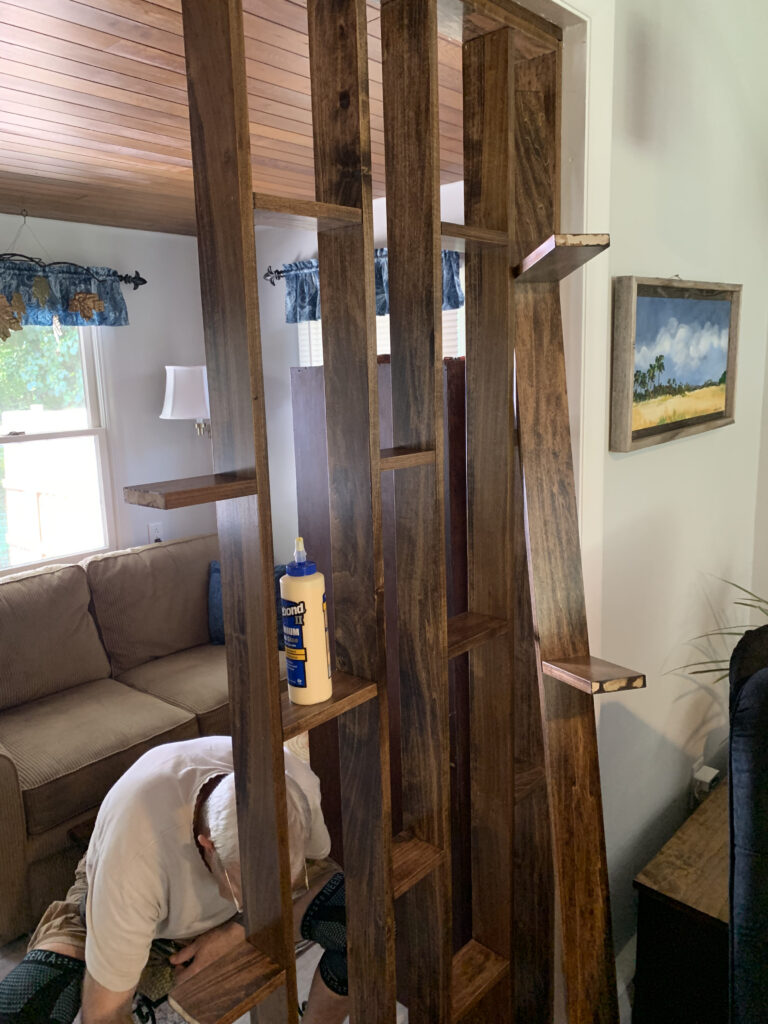
Next, Dad and I installed the decorative wall. This actually was pretty comical because we were the walking wounded. Dad has back and knee problems, so getting up and down is challenging. On the other hand, I was in the middle of a sciatica flare-up, which, if you have never experienced before, count yourself lucky! I’m sure it took us twice as long as it should have.
We attached the horizontal and vertical pieces using wood glue and a nail gun. We discussed attaching them with pocket screws but decided it was overkill for this project.
And that was it! Despite our physical ailments, the wall came out great. The design fits the house’s look and adds a nice architectural element.
What do you think? I’d love to hear your thoughts in the comments below.